Learn how to start a successful blog and go on to build profitable websites. Discover tactics, software, and more that can assist you in growing your online business.
Elementor is a top-notch page builder plugin that replaces the basic WordPress editor with a live frontend editor, so you can create complex layouts visually.
GENERATEPRESS REVIEW
GeneratePress is built with responsive design in mind for one of the most popular PHP frameworks, making it easy to create different layouts for each site.
THEMEISLE REVIEW
ThemeIsle is a website builder that offers beautiful template designs for users who wants to create stunning websites. It is the best and easiest solution for building your website.
We compiled a list of the best WordPress themes in 2022 based on characteristics, demand, and ratings/reviews. Check out our lists & start creating stunning websites.
WordPress page builders have made it easier than ever to build a website. We’ve done all of the legwork for you so you can get your site up and running from the ground up.
Our all-in-one blog offers guides and website-building tutorials that you need to get started. Read our guides and learn how you can build beautiful websites & blogs.
We learn WordPress as we use it to create all of our websites. Read through our WordPress news updates, plugin reviews, theme listings, how-tos, and other related articles.
We learn WordPress as we use it to create all of our websites. Read through our WordPress news updates, plugin reviews, theme listings, how-tos, and other related articles.
Join thousands of people reading our guides and articles to create beautiful websites.
Best Themes
Impress With Design
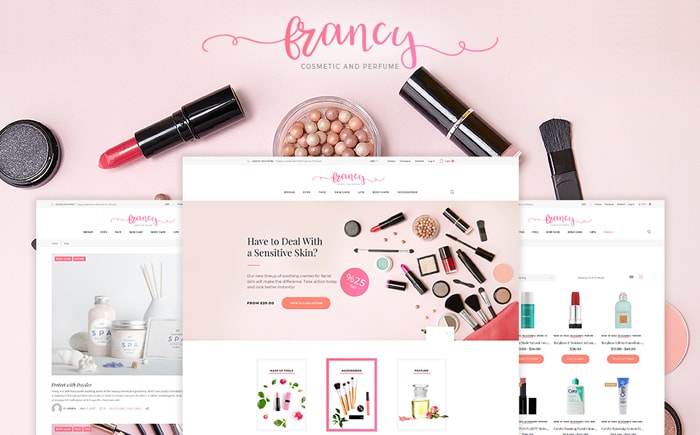
20 Best Pink WordPress Themes for Inspiration of 2023 (Premium)
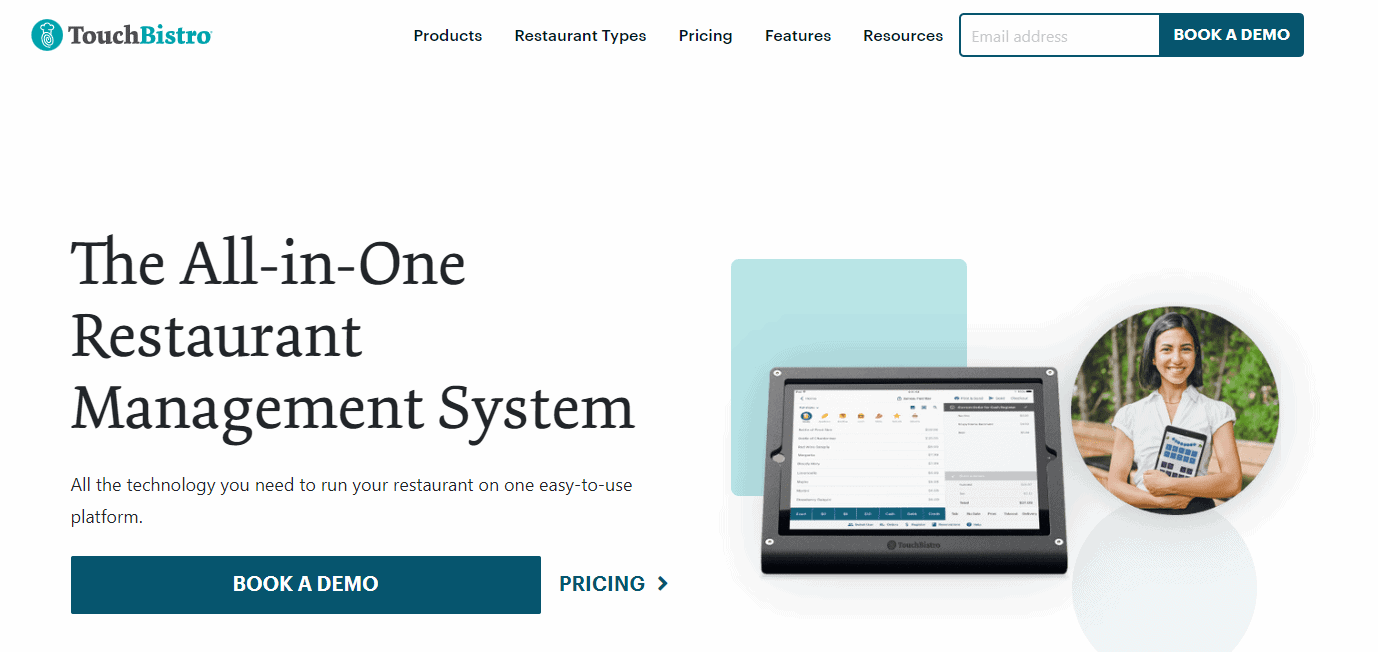
30 Best Food & Restaurant WordPress Themes 2023 ( Handpicked)
PRACTICE MAKES PERFECT
Learn WordPress At
Lightspeed.
We learn WordPress as we use it to create all of our websites. Read through our WordPress news updates, plugin reviews, theme listings, how-tos, and other related articles.