Search
Close this search box.

How To Create Database And Database User For MySQL In cPanel 2024

Affiliate disclosure: In full transparency – some of the links on our website are affiliate links, if you use them to make a purchase we will earn a commission at no additional cost for you (none whatsoever!).

Modern web hosting usually comes with a control panel called “cPanel” which is used to manage the server where your website is hosted. In this article, we will walk you through the process of creating a new database and user for MySQL using cPanel’s Databases section.

The MySQL database has become the most powerful, open-source relational database system available. It is developed and maintained by Oracle Corporation. This blog post will describe how to create a new MySQL database in cPanel, then how to create a user for that database. 

You can learn more about this at your own pace by following these steps:  

1) Log in to cPanel;
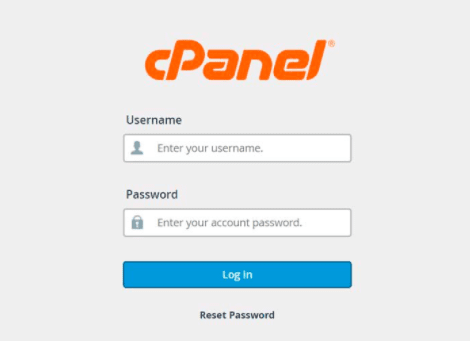
cpanel login

2) Click on “Databases”;

3) Scroll down to “Create Database” and click on it;

4) Fill out the form with desired information (name of the new database);

5) Create a User for this Database (optional). Choose an account type (“Regular”, “Superuser”, or “Replication”) and fill out any 

other required fields.

What is MySQL Database?

mysql

MySQL is a popular open source database management system. It’s written in C and C++. MySQL was first released on the web in 1995 as a free, open source database engine for use by computer programmers developing simple databases. Today it supports more complex types of data including relational data, spatial data and temporal (or time-series) data.

MySQL can be used to store data for many different types of software systems, including content management systems, web applications, customer relationship management (CRM), enterprise resource planning (ERP), database marketing, desktop applications and much more. With four simple commands you can create databases, tables, views and indexes in MySQL.

MySQL is supported on most Unix platforms, including Linux and Mac OS X. It’s also supported on the Windows platform via the free MySQL for Windows software download. There are two versions of MySQL available: MySQL Community Server and the commercial MySQL Enterprise Server. The latest version of MySQL is Version 5, released in December 2008. Version 6 is also currently under development.

What is cPanel?

cpanel

The cPanel web-based control panel for cPanel servers is a popular high performance web hosting automation tool with a graphical interface used to simplify the process of hosting HTML files on a remote server.

cPanel Hosting, available from many sources, is one of the most common means by which websites are hosted.

In order to use cPanel with your hosting account, you must have a hosting control panel or a control panel interface already set up on the server.

The simplest way to do this is to go with a service that charges one flat rate for unlimited space and bandwidth – these usually come with cPanel built in as part of the package deal.

If you are looking for a cost effective way of providing your hosting account, cPanel can be easily installed on an existing Linux server. Please note that the installation process is different depending on whether you have a dedicated or Virtual Private Server (VPS).


Importance of Creating a Database and Database user for MySQL in cPanel-

One of the main prerequisites before beginning the installation process, is to make sure that you have a MySQL Database and user available. This can be created within your cPanel.

The following tutorial will explain how to create a MySQL database and user:

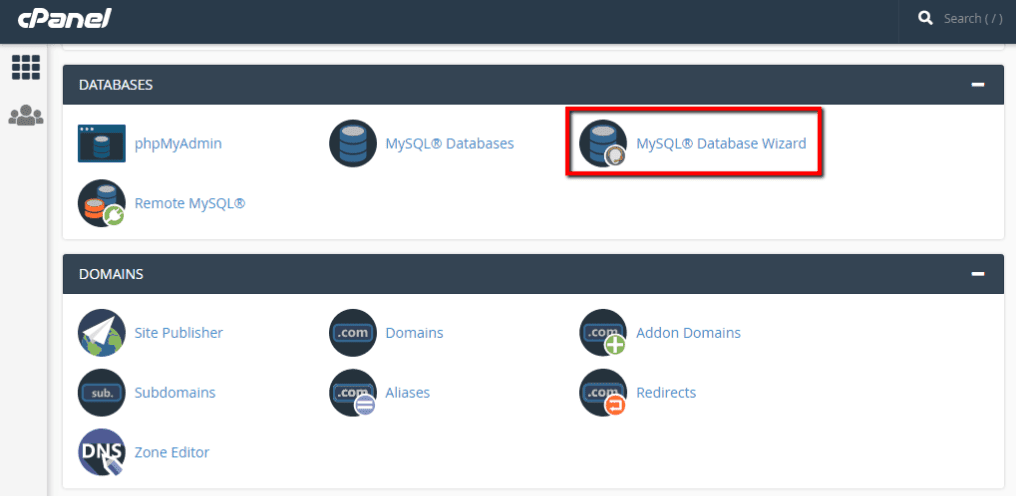
1) Log into your cPanel and navigate to “Databases” and click on MySQL Database Wizard.

MySQL Database Wizard

2) You will then need to fill out the form on this page to create your database and user.

Note that you MUST decide what you wish to call your username and password as they cannot be changed afterwards without completely removing them, which would delete all data associated with that user! This is why it is important not to use a password that you use for any other sites.

Please note that the database name and user name must not exceed 30 characters and may only consist of letters, numbers and underscores (_).

3) Once you have finished filling out the form click on “Create Database” to create your MySQL Database.

4) If successful, it should take you to the next step. Here, you can add a user to your newly created database.

5) Once you have finished filling out the form click on “Create User” to create your MySQL Database.

This will bring up a pop-up window asking if you would like to create the new user in the same database as before or in a new one. If you wish to create the user in the same database as before, simply select “Same as parent” and then click on “Add User”.

If you would like to create the user in a separate database, simply select “Create new database” and enter your desired name for this new database. Then proceed by clicking on “Add User”.

Please note the database name and the username must not exceed 30 characters and may only consist of letters, numbers and underscores (_).

6) This will bring up another pop-up window asking you to “Create a new user with this configuration”. Simply select “Create User” in this pop-up window.

7) If successful, it should take you back to the In cPanel page. Once here, please scroll down until you find MySQL/MariaDB Web Hosting Databases and phpMyAdmin Access. Simply click on “phpMyAdmin” or “Web Hosting Databases” depending on your option in step 7 above.

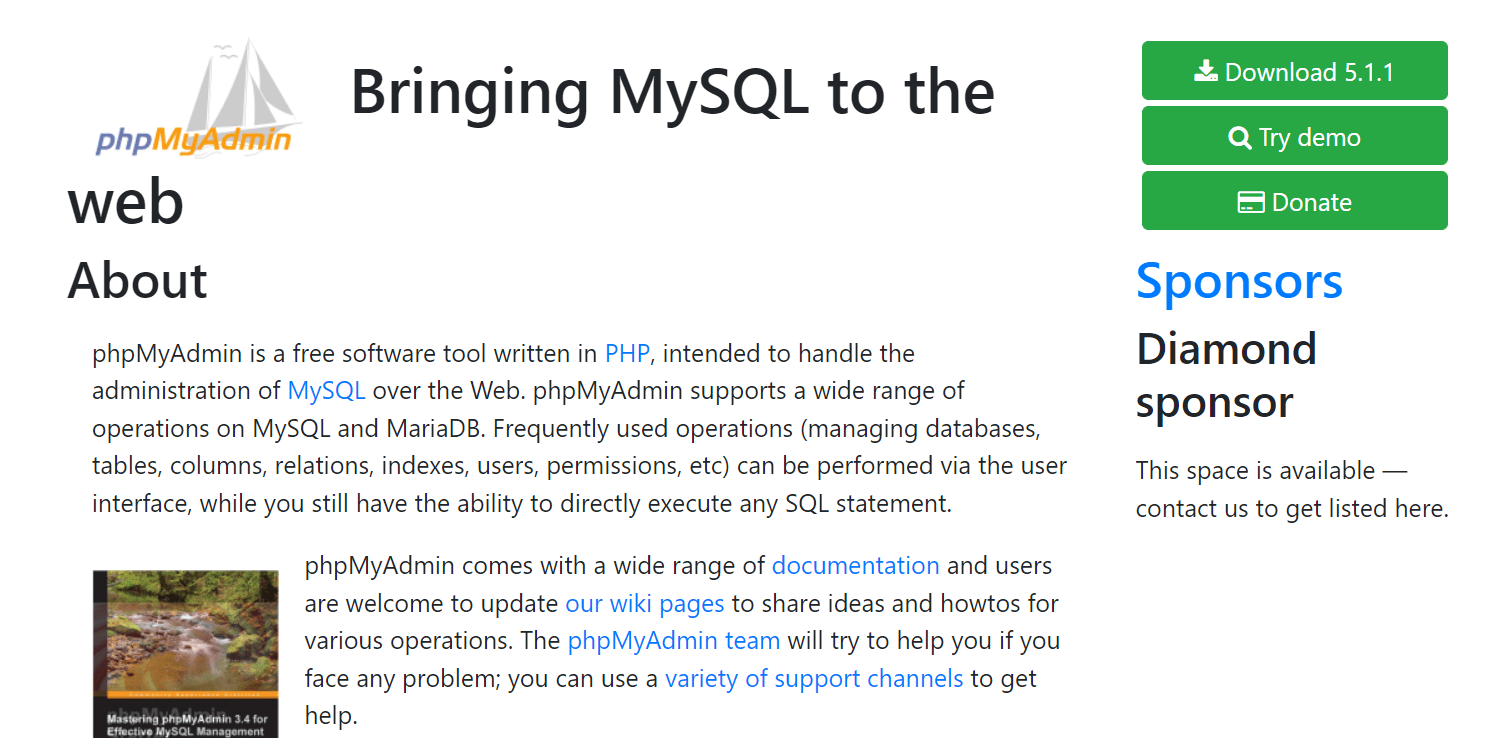
phpMyAdmin

8) This will bring up the Database and phpMyAdmin home/start page. Simply scroll down until you find your database and user.

9) Once here, you should provide this information to the developer of the scripts that you wish to install in order for them to move forward with their installation process.

If successful, it should look like something similar to the image below:

You have now created your database and user in cPanel.


Merits of Creating a MySQL Database and user in cPanel-

This will allow you to better administer your MySQL Database; it is good to be familiar with the basics before getting into more advanced programming. You can also create additional users (for security) for another login/password combination if you choose to distribute hosting duties among a group of people.

You will also be able to install Addons to your site easily when you create a user in cPanel.

If you are planning on creating an addon domain, then it would be advised that you do this prior to setting up the addon or else you may end up having to manually back-up/install again.

The MySQL Database can be set up to automatically import from a MySql dump file. This is a good backup tool as it will save time as opposed to importing the data yourself. In addition there are many different scripts available for download that allow you to quickly install common applications, such as OpenCart or osCommerce, thus creating a shopping cart or similar.

Demerits of creating a MySQL Database and User Using cPanel-

If you already have an established website, then it would be best to not create a user in cPanel, instead you should use phpMyAdmin which is accessible via SSH (Secure Shell). If you decide to create a user in cPanel, but already have a MySql Database and existing user for this site then you may run into problems such as:

Not being able to see your tables. The MySQL user that was created in cPanel is not allowed ‘SUPER’ access rights by default so it will not be able to see data saved in other tables.

If you are using phpMyAdmin, then you will be unpleasantly surprised to find that the cPanel MySQL user is listed as “localhost” and thus all your settings within phpMyAdmin to access this information no longer work. You will need to change each item manually to reflect the password for the new user.

The other problem you may encounter is that the cPanel user does not have access to all of the databases, this means that if you need data stored in one particular database then you will be forced to rename your table. If your MySQL Table renames are performed incorrectly (and they very well could be) then you could cause corruption which I’m sure none of us would appreciate.

How to Create Database and Database user for MySQL in cPanel-

1.Log into your cPanel account, if you are new user then click on this link ” www.mydomainname.com

2. At the right side of the screen under the Databases section Click on the My SQL Database Wizard icon or link.

3. You will see the following screen in which you have to fill in all required information about your database. In this guide we are creating a test database named “test” and click continue.

4. Now it asks for a username and password in order to access the MySQL server from localhost, enter any name of your choice in both username and password fields and click “Go”.

5. Now it asks for database specifications. If you want to create a database and grant all privileges automatically, you can select ‘Create Database with Grant’ method and Click on the Continue button otherwise select the ‘Grant Database User Privileges Manually’ method and Click on the continue button. In this example, we select ‘Create Database with Grant’ and continue.

6. Now it asks for confirmation to create the database, click on the “Yes” button.

7. The final step of cPanel will display all details about your phpMyAdmin account like Domain, Username and password which you can use later to access phpMyAdmin from localhost.

8.Now you have successfully created a MySQL database with its username and password, when you need to access your database in the future just click on the MySQL Manager icon or link under the ‘Databases’ section of cPanel.

Quick Links 

Conclusion-How To Create Database And Database User For MySQL In cPanel 2024 

 Database management is an important part of any website. If you are not comfortable managing your database, let us know and we can help. We have a team of experts ready to assist with cPanel MySQL databases for your site today!

 The database and user for MySQL are created in cPanel. Next, you’ll need to set the password for your new database user account by clicking on “Database” in the left-hand menu of cPanel.

You can also find this link under Advanced Settings when managing your databases directly from your hosting control panel. Once there, type in a secure password that meets all requirements (minimum 8 characters with no spaces or symbols) then click “Set Password.”

That’s it! Your MySQL installation is now ready for use and should be accessible through PHPMyAdmin just like any other web server. 

Jitendra

Jitendra Vaswani is the founder of SchemaNinja WordPress Plugin, prior to SchemaNinja he is the founder of many internet marketing blogs BloggersIdeas.com, and Digiexe.com. He is a successful online marketer & award-winning digital marketing consultant. He has been featured on HuffingtonPost, BusinessWorld, YourStory, Payoneer, Lifehacker & other leading publications as a successful blogger & digital marketer. Jitendra Vaswani is also a frequent speaker & having 8+ yrs experience of in the Digital Marketing field. Check out his portfolio( jitendra.co). Find him on Twitter, & Facebook.

0 Shares
Tweet
Share
Share
Pin